> ## Documentation Index
> Fetch the complete documentation index at: https://docs.qcall.ai/llms.txt
> Use this file to discover all available pages before exploring further.
# Zeplo Setup Guide
> Step-by-step guide to create a Zeplo account, connect WhatsApp, and generate API credentials for QCall AI integration.
## Step-by-Step Zeplo Setup
This guide walks you through creating a Zeplo account, connecting your WhatsApp Business channel, and generating the API credentials needed for QCall AI integration.
***
### Step 1: Create a Zeplo Account
1. Go to [zeplo.ai](https://zeplo.ai/) and click **Sign up for free**.
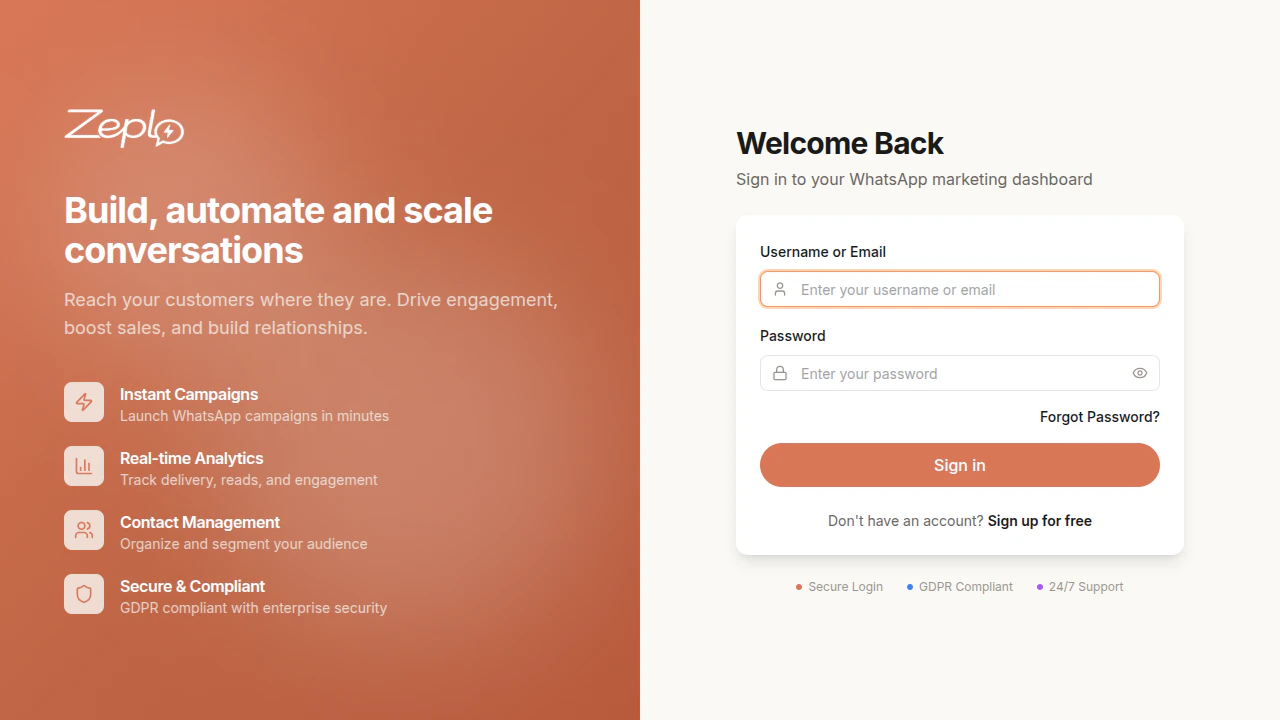 2. Fill in your registration details (name, email, password).
3. Verify your email address.
4. Log in to your new Zeplo account.
***
### Step 2: Connect Your WhatsApp Business Channel
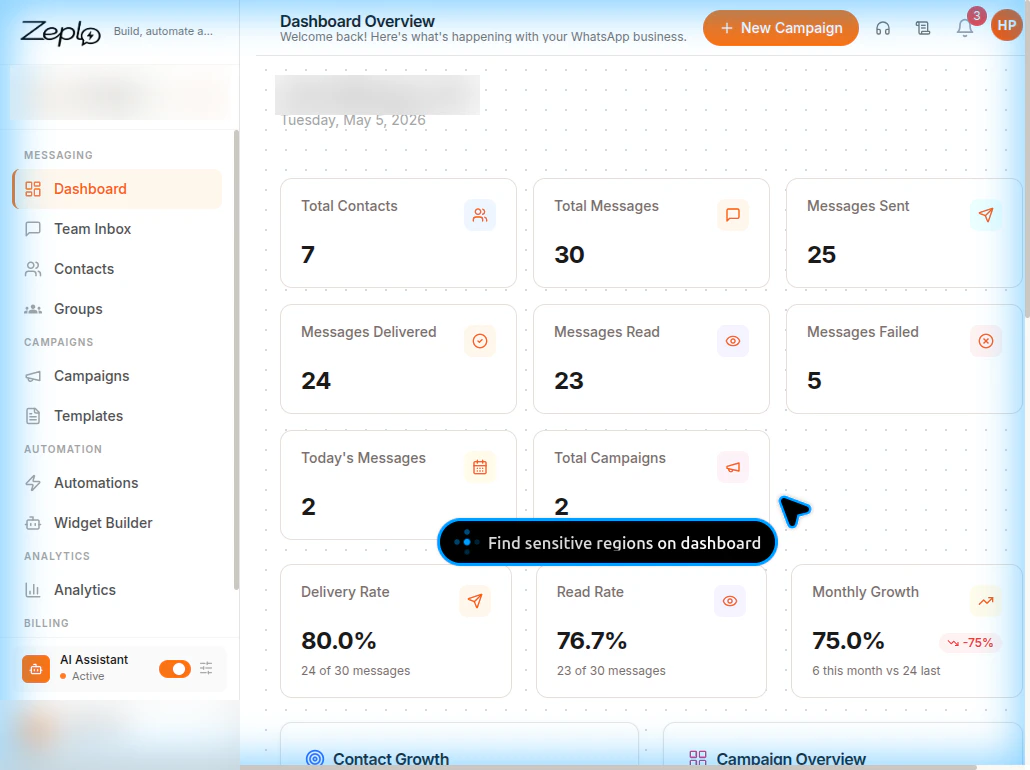
After logging in, you'll see the Zeplo **Dashboard**.
2. Fill in your registration details (name, email, password).
3. Verify your email address.
4. Log in to your new Zeplo account.
***
### Step 2: Connect Your WhatsApp Business Channel
After logging in, you'll see the Zeplo **Dashboard**.
 1. Navigate to **Settings** from the left sidebar.
2. Under the **Channel Setting** tab, click **Add New Channel**.
3. Follow the Meta authentication flow to connect your WhatsApp Business phone number.
4. Once connected, your channel will appear with a **Connected** status and health details.
1. Navigate to **Settings** from the left sidebar.
2. Under the **Channel Setting** tab, click **Add New Channel**.
3. Follow the Meta authentication flow to connect your WhatsApp Business phone number.
4. Once connected, your channel will appear with a **Connected** status and health details.
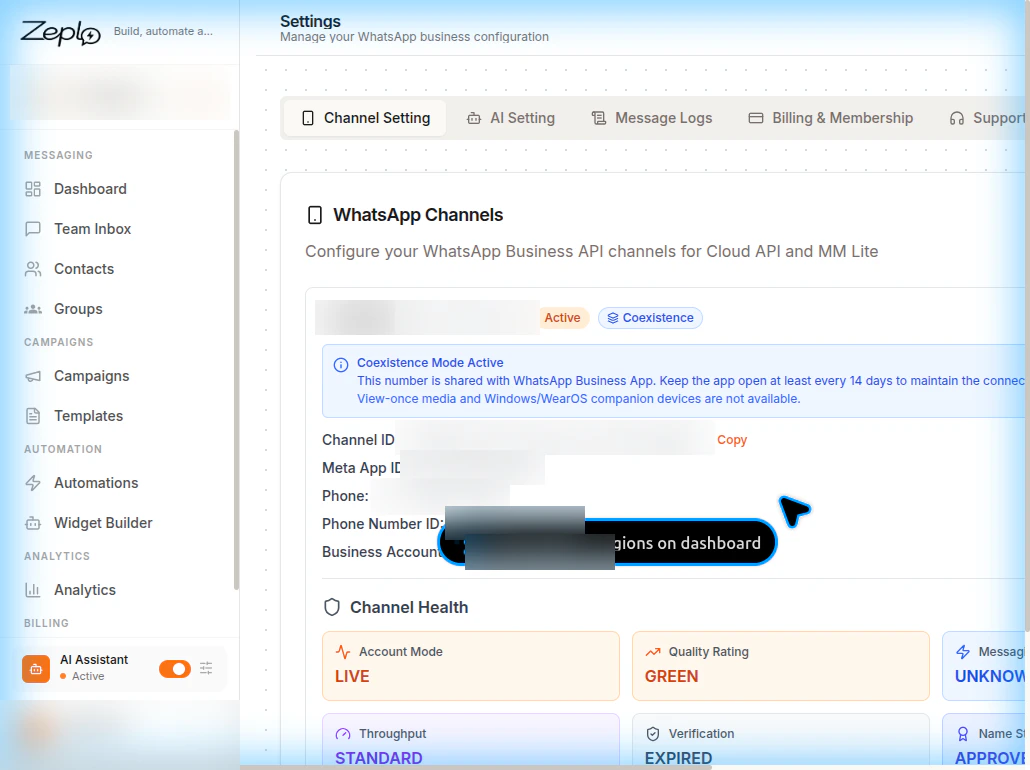 Make sure your WhatsApp Business Account is verified and your app is in **LIVE** mode for production messaging.
***
### Step 3: Get Your Channel ID
1. In **Settings → Channel Setting**, find your connected channel.
2. Locate the **Channel ID** (a UUID like `fe532ed9-xxxx-xxxx-xxxx-xxxxxxxxxxxx`).
3. Click the **Copy** button next to it.
4. Save this value — you'll need it for the QCall AI configuration.
***
### Step 4: Generate an API Key and Secret
1. Navigate to **Settings → API Key Setting** tab.
Make sure your WhatsApp Business Account is verified and your app is in **LIVE** mode for production messaging.
***
### Step 3: Get Your Channel ID
1. In **Settings → Channel Setting**, find your connected channel.
2. Locate the **Channel ID** (a UUID like `fe532ed9-xxxx-xxxx-xxxx-xxxxxxxxxxxx`).
3. Click the **Copy** button next to it.
4. Save this value — you'll need it for the QCall AI configuration.
***
### Step 4: Generate an API Key and Secret
1. Navigate to **Settings → API Key Setting** tab.
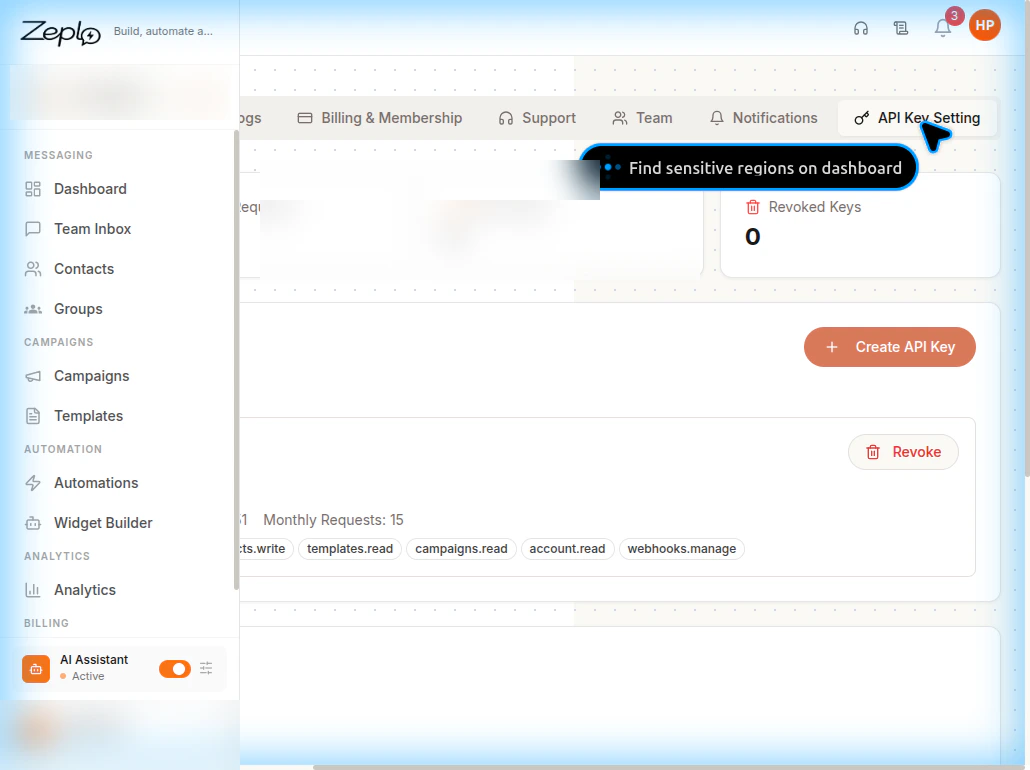 2. Click **Create API Key**.
3. Enter a name for the key (e.g., "QCall Integration").
4. Select the following permissions:
* `messages.send`
* `messages.read`
* `contacts.read`
* `contacts.write`
* `templates.read`
* `campaigns.read`
* `account.read`
* `webhooks.manage`
5. Click **Create**.
6. A modal will appear with your **API Key** and **API Secret**.
**Copy and save both the API Key and API Secret immediately.** The API Secret is shown only once and cannot be retrieved later.
***
### Step 5: Note the API Base URL
The Zeplo API base URL is displayed in the API Key Settings section:
```
Base URL: https://zeplo.ai/api/v1
```
Authentication is done via headers:
```
x-api-key: YOUR_API_KEY
x-api-secret: YOUR_API_SECRET
```
***
### Step 6: Create WhatsApp Templates
1. Navigate to **Templates** from the left sidebar.
2. Click **Create API Key**.
3. Enter a name for the key (e.g., "QCall Integration").
4. Select the following permissions:
* `messages.send`
* `messages.read`
* `contacts.read`
* `contacts.write`
* `templates.read`
* `campaigns.read`
* `account.read`
* `webhooks.manage`
5. Click **Create**.
6. A modal will appear with your **API Key** and **API Secret**.
**Copy and save both the API Key and API Secret immediately.** The API Secret is shown only once and cannot be retrieved later.
***
### Step 5: Note the API Base URL
The Zeplo API base URL is displayed in the API Key Settings section:
```
Base URL: https://zeplo.ai/api/v1
```
Authentication is done via headers:
```
x-api-key: YOUR_API_KEY
x-api-secret: YOUR_API_SECRET
```
***
### Step 6: Create WhatsApp Templates
1. Navigate to **Templates** from the left sidebar.
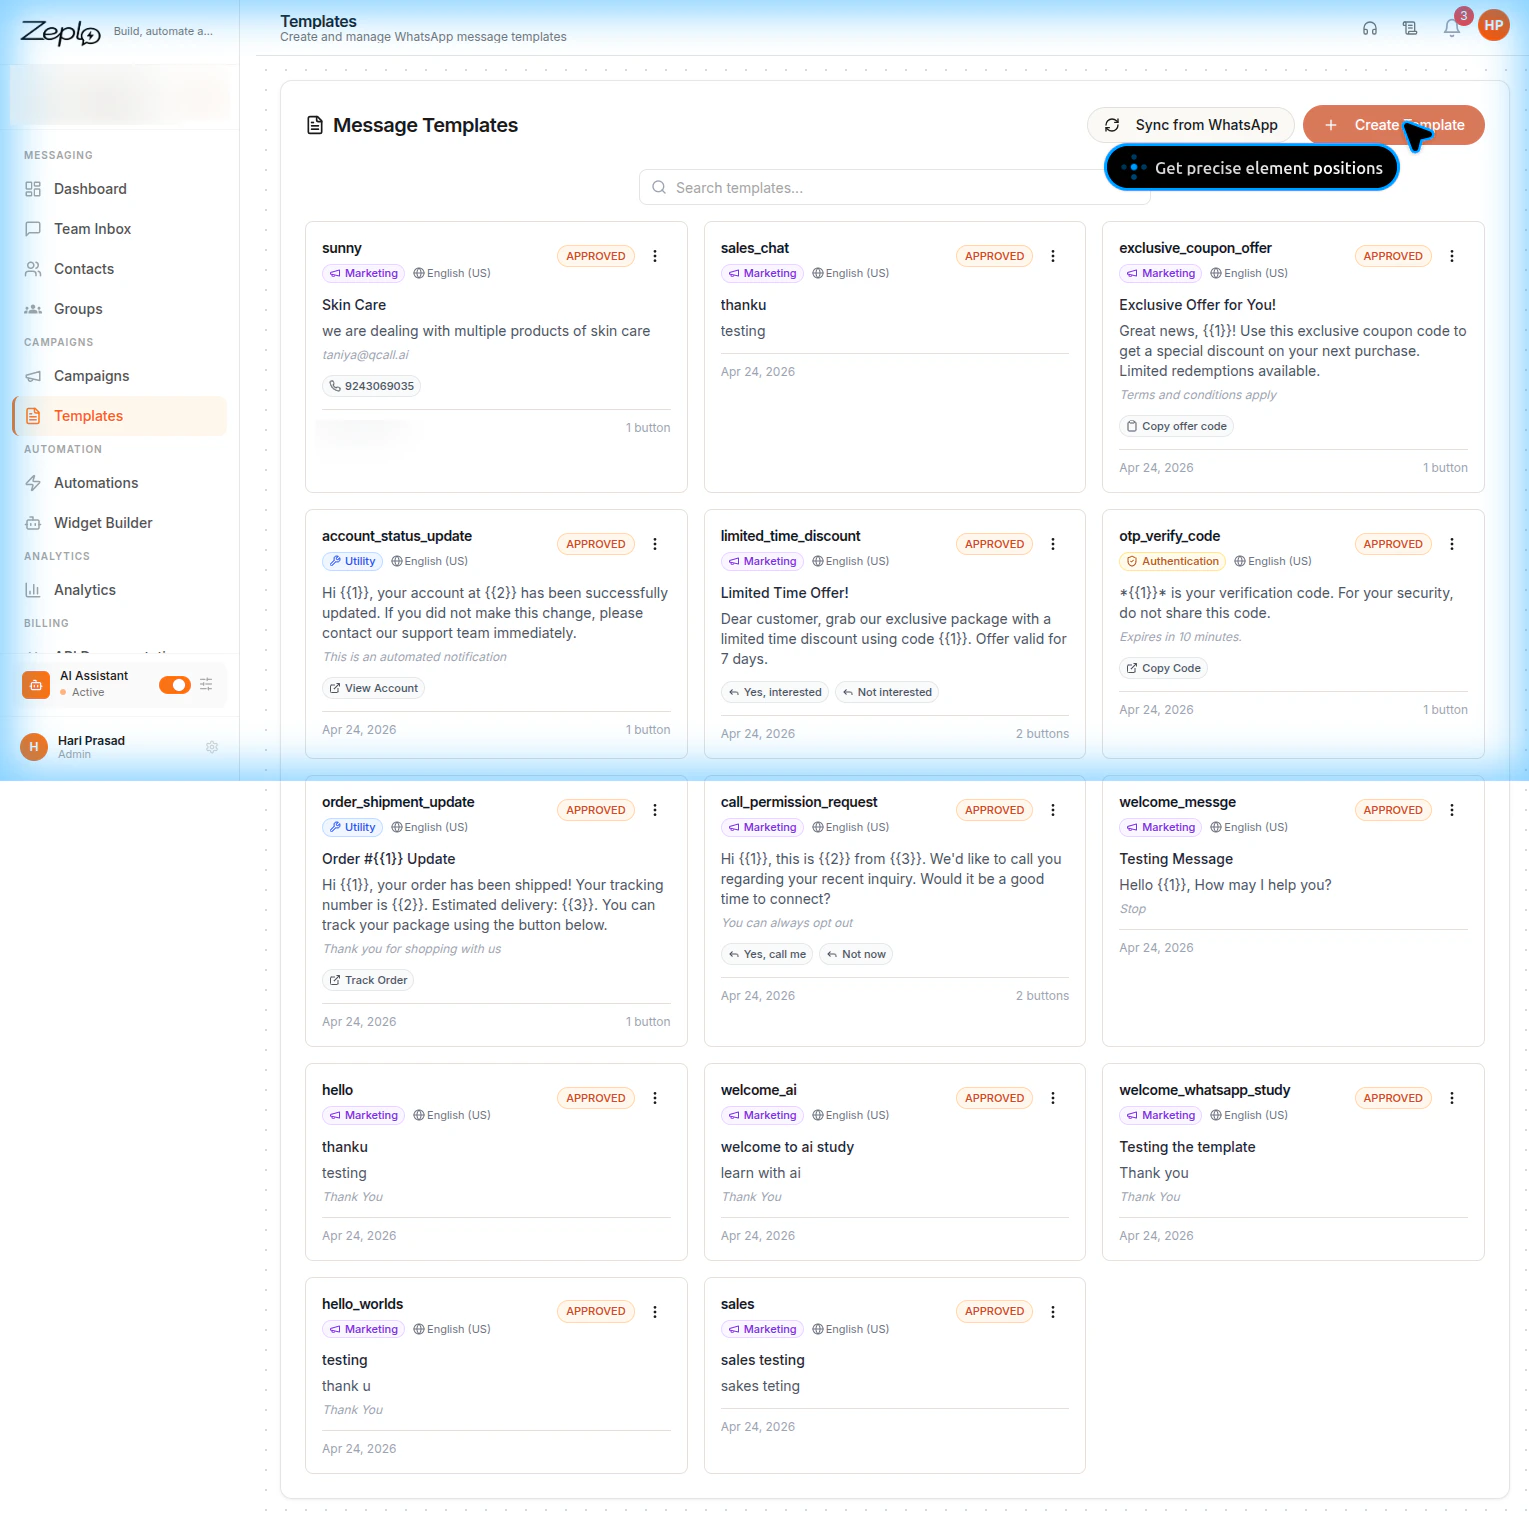
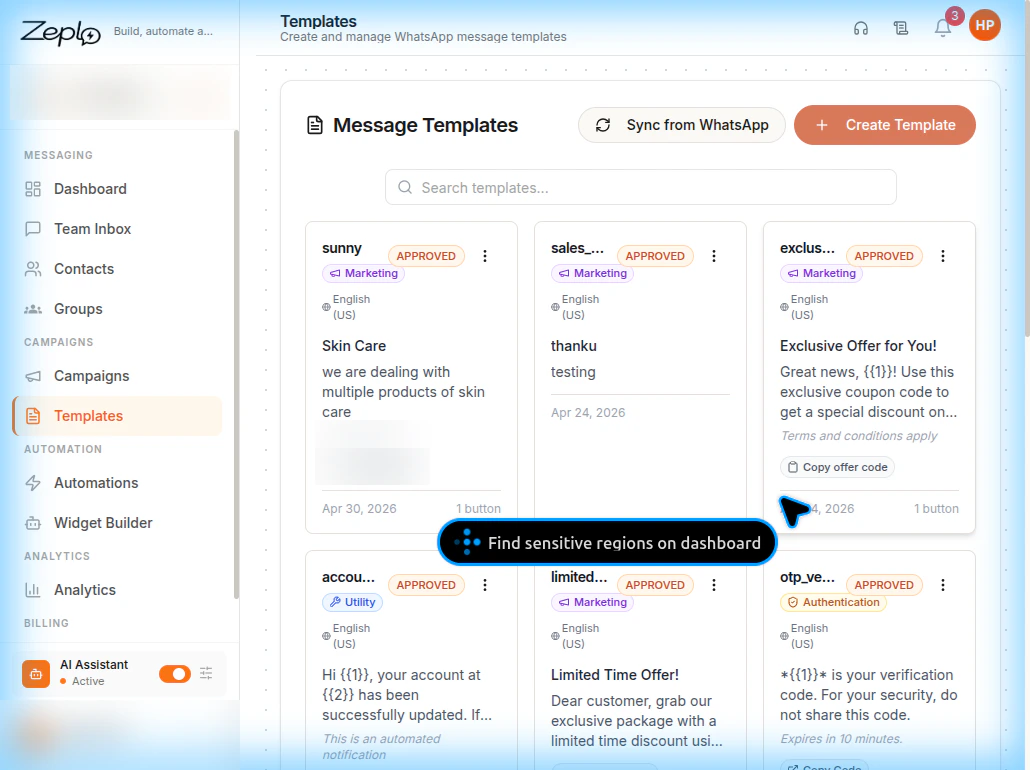 2. Click **Create Template** or **Sync from WhatsApp** to import existing Meta templates.
3. Create templates with the following categories:
* **Marketing** — Promotional messages, offers, announcements
* **Utility** — Account updates, order notifications, shipment tracking
* **Authentication** — OTP verification codes
4. Each template can contain:
* A **header** (text with optional `{{1}}` placeholders)
* A **body** (main message text with `{{1}}`, `{{2}}` placeholders)
* A **footer** (static text)
* **Buttons** (URL buttons can have `{{1}}` placeholders)
5. Submit templates for Meta approval. Only **APPROVED** templates can be used.
2. Click **Create Template** or **Sync from WhatsApp** to import existing Meta templates.
3. Create templates with the following categories:
* **Marketing** — Promotional messages, offers, announcements
* **Utility** — Account updates, order notifications, shipment tracking
* **Authentication** — OTP verification codes
4. Each template can contain:
* A **header** (text with optional `{{1}}` placeholders)
* A **body** (main message text with `{{1}}`, `{{2}}` placeholders)
* A **footer** (static text)
* **Buttons** (URL buttons can have `{{1}}` placeholders)
5. Submit templates for Meta approval. Only **APPROVED** templates can be used.
 ***
### Step 7: Configure Zeplo in QCall AI
Now that you have your credentials from Zeplo, configure them in QCall AI:
1. Log in to the **QCall AI dashboard**.
2. Click the **QCall AI logo** in the top left corner to open the menu.
3. Select **Integrations**.
4. In the Integrations section, find the **Zeplo** card and click on it.
5. Enter the following credentials:
* **API Key** — Paste the API key from Step 4
* **API Secret** — Paste the API secret from Step 4
* **Channel ID** — Paste the Channel ID from Step 3
6. Click **Save**.
When editing an existing configuration, the API Secret field can be left blank to keep the current secret unchanged. Only enter a new secret if you want to update it.
***
### Step 8: Test the Connection
After saving your Zeplo credentials in QCall AI:
1. Go to **Assistants** → Create or edit an assistant.
2. In the **Send Message** action, enable **Zeplo (WhatsApp)**.
3. Select a template from the dropdown.
4. Fill in the parameter hints.
5. Click the **Test Zeplo** button.
6. Enter a phone number and parameter values.
7. Click **Send Test** to verify the integration is working.
If the test message is delivered successfully to your WhatsApp, the integration is complete!
***
## Zeplo Dashboard Overview
The Zeplo dashboard provides several key sections:
| Section | Description |
| --------------------- | -------------------------------------------------------------- |
| **Dashboard** | Overview of contacts, messages, delivery rates, and API status |
| **Team Inbox** | Manage conversations with your contacts in real-time |
| **Contacts** | Manage your contact list and import via CSV |
| **Groups** | Organize contacts into groups for targeted campaigns |
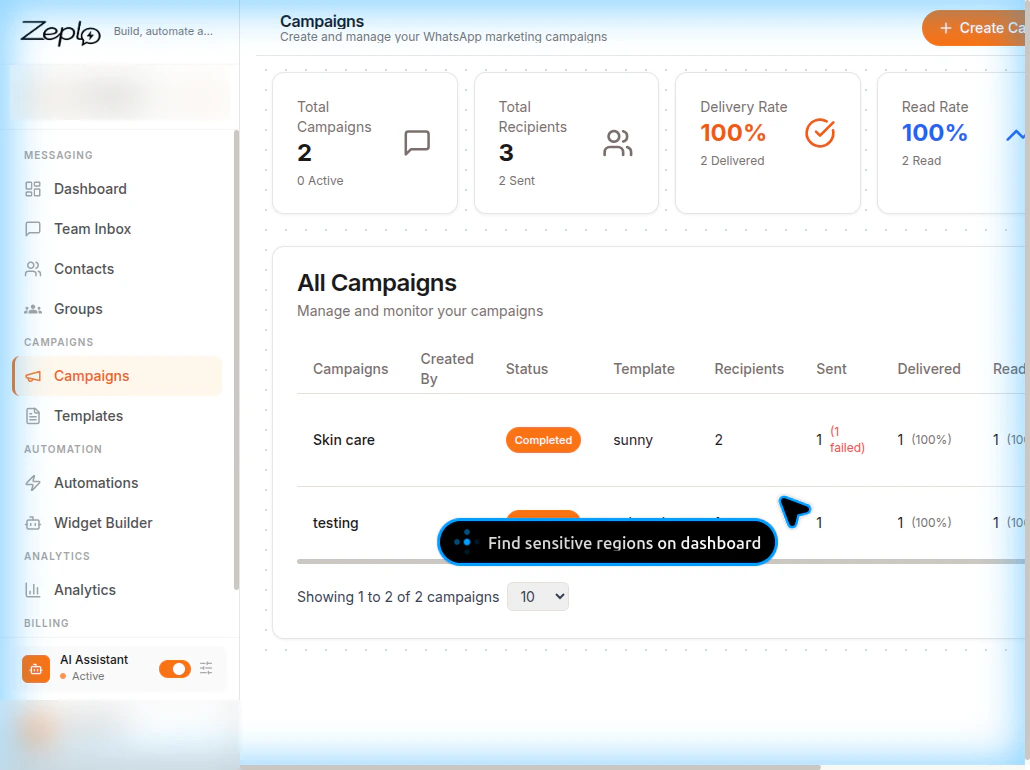
| **Campaigns** | Create and manage WhatsApp messaging campaigns |
| **Templates** | Create, manage, and sync WhatsApp message templates |
| **Automations** | Build automated workflows and chatbot flows |
| **Analytics** | Track message delivery, read rates, and engagement |
| **API Documentation** | Zeplo's own API reference for developers |
***
### Step 7: Configure Zeplo in QCall AI
Now that you have your credentials from Zeplo, configure them in QCall AI:
1. Log in to the **QCall AI dashboard**.
2. Click the **QCall AI logo** in the top left corner to open the menu.
3. Select **Integrations**.
4. In the Integrations section, find the **Zeplo** card and click on it.
5. Enter the following credentials:
* **API Key** — Paste the API key from Step 4
* **API Secret** — Paste the API secret from Step 4
* **Channel ID** — Paste the Channel ID from Step 3
6. Click **Save**.
When editing an existing configuration, the API Secret field can be left blank to keep the current secret unchanged. Only enter a new secret if you want to update it.
***
### Step 8: Test the Connection
After saving your Zeplo credentials in QCall AI:
1. Go to **Assistants** → Create or edit an assistant.
2. In the **Send Message** action, enable **Zeplo (WhatsApp)**.
3. Select a template from the dropdown.
4. Fill in the parameter hints.
5. Click the **Test Zeplo** button.
6. Enter a phone number and parameter values.
7. Click **Send Test** to verify the integration is working.
If the test message is delivered successfully to your WhatsApp, the integration is complete!
***
## Zeplo Dashboard Overview
The Zeplo dashboard provides several key sections:
| Section | Description |
| --------------------- | -------------------------------------------------------------- |
| **Dashboard** | Overview of contacts, messages, delivery rates, and API status |
| **Team Inbox** | Manage conversations with your contacts in real-time |
| **Contacts** | Manage your contact list and import via CSV |
| **Groups** | Organize contacts into groups for targeted campaigns |
| **Campaigns** | Create and manage WhatsApp messaging campaigns |
| **Templates** | Create, manage, and sync WhatsApp message templates |
| **Automations** | Build automated workflows and chatbot flows |
| **Analytics** | Track message delivery, read rates, and engagement |
| **API Documentation** | Zeplo's own API reference for developers |